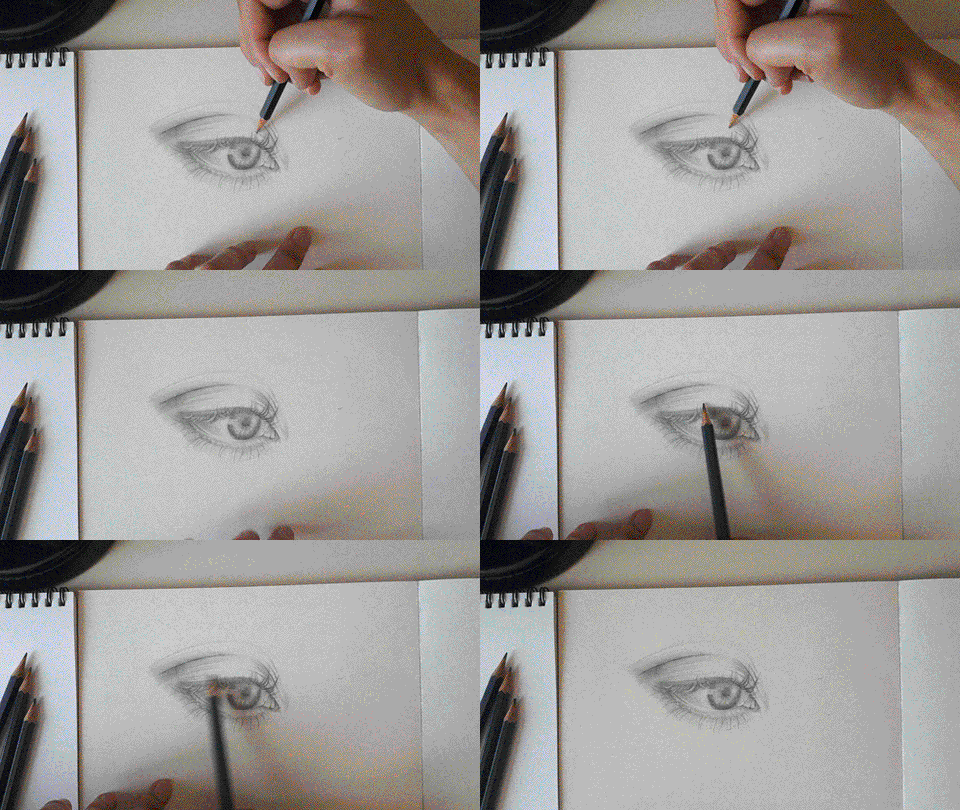
We see the soul through eyes. Don’t you agree on this?
Anger, sadness, happiness, worries, every emotion you name it which shows through our eyes. Even when we draw, we start drawing eyes first. This time, we invite Annelies Bes (Instagram: @annnelies) to illustrate how she draws an eye.
1. Outline the Eye
Start outlining the eye with lighter grades graphite pencil. It’s recommended using anything below HB.

It's important that slightly draw the silhouette of the outer line of the eye, the eyeball and the eyelid rather than draw it harshly. It only damages the paper and it will leave the trail on the paper.
2. Adding the shadow
Roughly draw some lines on both sides of the outer and inner corner of the eye and the lower part of the eye.
Then, use the brush to brush off the harsh lines and blend them into an even texture. There are multiple tools to help you achieve the blending goals. You can click here to read our previous post.

3. Create the reflection
Erase some graphite to create the reflection or the light on the eye. Imagine where the light will hit on the eye. It mostly could the eyelid and the eyeball.


4. Repeat the shading and blending process
Now, you can gradually move to use dark grades of the pencil to add more depth to the shadow. Repeat the early shading and blending process to get the desired shadow you want.
Where should the shadow be applied? You should put the shadow on the edge of the upper lid closed to the eyelash, more on the inner and outer corner of the eye.
5. Drawing the lashes
Tips drawing the lashes:
(i) Always start from the bottom - because the lashes grow from the bottom to the tips. In other words, you should put more pressure from the bottom and lift your pencil upwards to create the pointy tips.
(ii) Beware of the direction - the upper lashes are divided differently based on the angle of the eye. As this angle, the lashes should be divided into two parts. The first part is from the inner corner to the end of the eyeball. The lashes on this part should be upward motion. The second part is from the end of the eyeball to the end of the eye. This part is in a downward motion.


6. Drawing the lower lashes
For the lower lashes, some people made the mistake by drawing close to the eyeball. It's essential to leave some gap under the eyeball for the lacrimal punctum area.

7. Adding the details
Finally, adding the details of the eyes. The details could be the lines of the crest, the eye blood streaks, and lashes.


Volià, now you have finished the drawing.


